


So, your new Project Timber building has arrived! Whether it’s destined to be a cozy garden office, a creative studio, or the ultimate hobbyist retreat, you’ve taken the first step toward a fantastic new lifestyle.
But here’s the thing: timber is a natural, “living” material. To keep your new sanctuary dry, sturdy, and looking its best for years to come, you need to give it a little love right from the start. Think of weatherproofing as the “insurance policy” for your garden room.
Follow our professional, step-by-step plan to seal your building against the British weather.
Phase 1: The Foundation of Protection
The best time to start weatherproofing isn’t when the building is finished—it’s before the first wall even goes up!
1. Create a “Bearer Barrier”
Ground moisture is the silent enemy of any garden structure. Before you begin assembly, make sure to coat the underside of your floorboards and the floor bearers with a heavy-duty preservative.
The Logic: Once your building is standing, these areas are tucked away and inaccessible. Treating them now creates a waterproof shield between the damp ground and your floor, stopping rot before it can start.
2. Don’t Forget the “End Grain”
While our timber is pressure-treated for maximum longevity, any cuts made during the build will expose the “end grain.” Think of these areas like a sponge—they are eager to pull moisture into the core of the wood.
The Fix: To keep your warranty intact and your wood healthy, apply a high-quality preservative to any newly exposed joints or corners immediately after cutting.
Phase 2: Sealing the Vulnerable Spots
Even a precision-engineered shed has joints where driving rain might try to sneak in. Your mission is to make sure those entry points are locked tight.
3. The Magic of Silicone
Timber naturally expands and contracts as the seasons change. This “breathing” can create tiny gaps between the wooden frames and your glass window panes.
The Pro-Move: Apply a high-quality, clear exterior silicone sealant to the outside of all window panes and around the door frames.
The Result: This creates a flexible, watertight gasket that moves with the wood, ensuring rain beads off the glass rather than trickling into your room.
4. Master the Roof
Your roof is your building’s first line of defense. When installing your felt, ensure a generous overlap of 50mm–100mm.
Top Tip: Keep the felt pulled tight! Any “bubbles” or “dips” will act as tiny ponds for standing water, which can eventually damage the roof boards underneath.
Upgrade Alert: Want total peace of mind? Upgrade to our EPDM Rubber Roof for up to 20 years of worry-free protection!
5. The Unsung Hero: Guttering
While your roof does the heavy lifting of shedding rain, where that water goes next is just as important. Without a way to divert it, rainwater will pour off the roof and splash back against the bottom of your building, or worse, pool around your foundation.
Protect Your Base: Installing a guttering system is one of the most effective ways to prevent “splash-back” rot. By channeling water into a water butt or a designated drainage area, you keep the lower panels of your building dry and clean.
The Eco-Bonus: Connecting your gutters to a water butt isn’t just great for your timber; it’s great for your garden! You’ll have a free, sustainable source of water for your plants all summer long.
Pro Tip: Regularly clear your gutters of fallen leaves and debris. A blocked gutter can cause water to overflow and seep behind the fascia boards, leading to damp spots in the roof corners.
Phase 3: The 4-Week Treatment Rule
It’s a common myth that pressure-treated wood is “set and forget.” While pressure treatment protects against rot and decay, it isn’t a permanent shield against the rain.
The Deadline: You must apply a high-quality, water-repellent wood preservative within 4 weeks of delivery.
The Technique: Grab a brush! While sprayers are fast, a brush allows you to really work the coating into the grain, ensuring every nook, cranny, and knot is fully saturated.
The “Bead” Test: You’ll know you’ve done it right when rainwater sits in tiny droplets on the surface rather than soaking in and turning the timber dark.
Phase 4: The 12-Month Maintenance Ritual
To keep your warranty valid and your building in “showroom” condition, we recommend a quick annual check-up.
The Yearly Refresh
UV rays from the sun are surprisingly tough on protective coatings. To combat this, re-apply your wood treatment every 12 months. It’s a small weekend task that adds years to the life of your building.
Give it Some Space (The 24-Inch Rule)
Timber needs to breathe to stay dry. Never stack logs, tools, or compost bins directly against your exterior walls.
The Gap: Aim for at least a 24-inch (2ft) gap between your building and any fences or hedges. This allows air to circulate freely, preventing dampness and that dreaded “green” algae growth.
Your Weatherproofing Checklist
Keep this handy as you build to ensure you don’t miss a step:
- Pre-Assembly: Treat floor bearers and the underside of the floor.
- During Assembly: Silicone-seal all windows and door frames.
- Post-Assembly: Apply a full exterior treatment within the first 4 weeks.
- Annually: Inspect the roof felt and refresh your wood preservative.
Ready to get started? Protecting your timber building today ensures it remains the perfect garden getaway for a lifetime. Happy building!
Our Best Seller
-
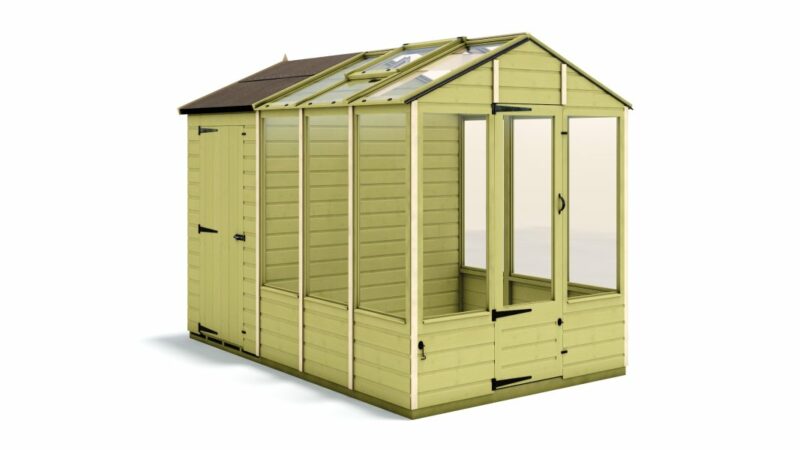 Hobbyist Sandringham H100 Greenhouse - Pressure Treated Tongue and Groove
£1,499.00 – £4,211.00
Hobbyist Sandringham H100 Greenhouse - Pressure Treated Tongue and Groove
£1,499.00 – £4,211.00
-
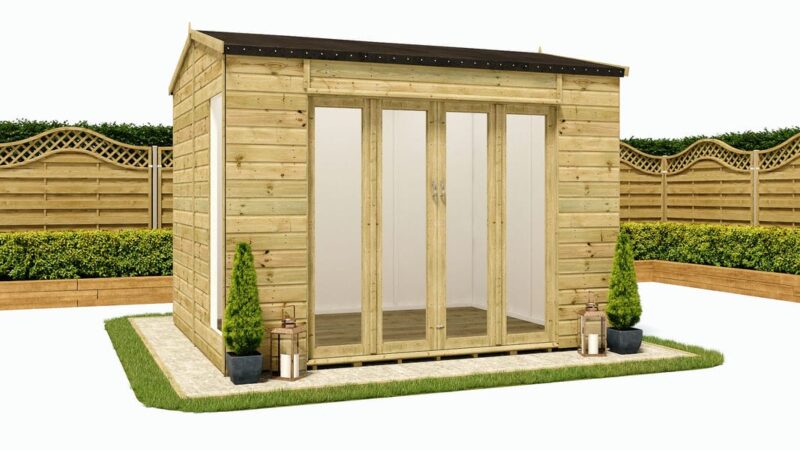
 Grandmaster Lounge "Contemporary" G1000 Garden Room - 11mm Pressure Treated Tongue and Groove (8ft Internal Depth)
£2,225.00 – £6,041.00
Grandmaster Lounge "Contemporary" G1000 Garden Room - 11mm Pressure Treated Tongue and Groove (8ft Internal Depth)
£2,225.00 – £6,041.00
-
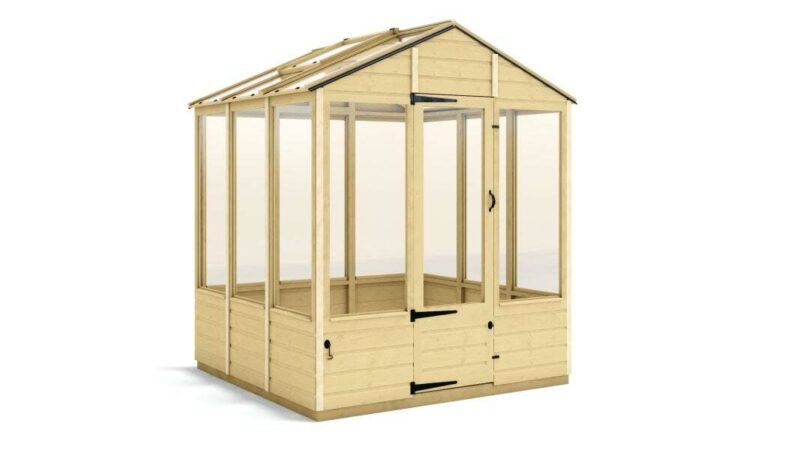 Hobbyist Chartwell H100 Greenhouse – Pressure Treated Tongue and Groove
£897.00 – £2,540.00
Hobbyist Chartwell H100 Greenhouse – Pressure Treated Tongue and Groove
£897.00 – £2,540.00
-
 Hobbyist Cannes Plus H100 Insulated Summerhouse - Insulated Tongue and Groove
From: £2,446.00
Hobbyist Cannes Plus H100 Insulated Summerhouse - Insulated Tongue and Groove
From: £2,446.00
-
 Grandmaster Heavy Duty D1000 Pent Shed Windowless - Pressure Treated Tongue and Groove (8ft Internal Depth)
From: £1,664.00
Grandmaster Heavy Duty D1000 Pent Shed Windowless - Pressure Treated Tongue and Groove (8ft Internal Depth)
From: £1,664.00