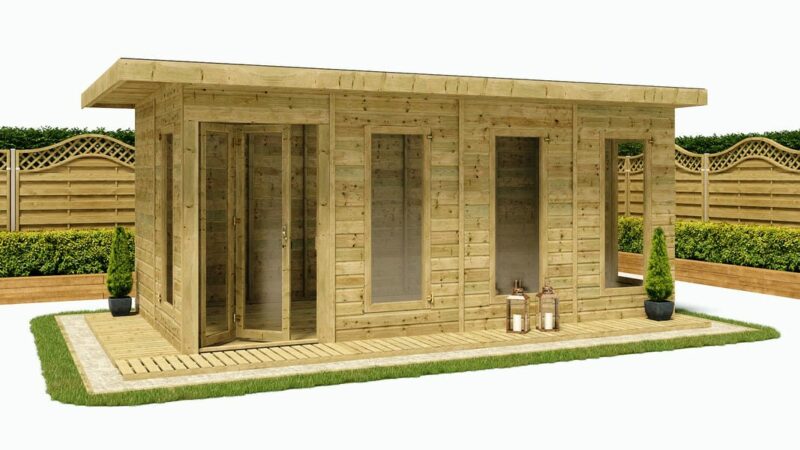
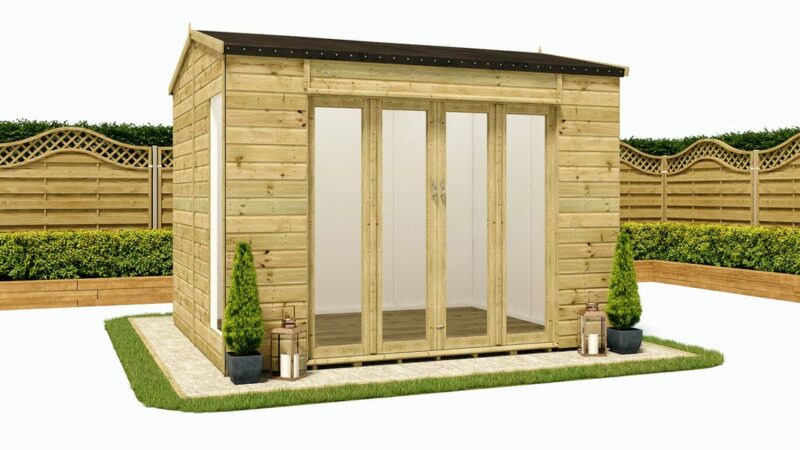
Building a base for your garden workshop is essential for a number of reasons. Not only will a base keep your garden building raised off the ground, protecting it from fungal damage and insect infestation, but it also allows for good air circulation underneath the building itself, essential for keeping the wood dry.
Why use pressure treated wood?
The function of a base is to provide a sturdy foundation for your garden workshop to sit upon. Because the base makes direct contact with the ground it’s highly susceptible to water damage, insect infestation, fungal decay, and more. Because of these reasons you should take extra precautions to ensure the longevity of your base.
Pressure treated wood is specially designed to outlast the elements. During the pressure treatment process the wood is impregnated with special preservatives. Once the chemicals have settled and dried your base will be ready for use.
Lumber that has been pressure treated can last anywhere from 15 – 20 years (or more) and requires little to no maintenance to ensure its continued longevity
Where should you build a base for your garden workshop?
As you give thought to where you should place your garden workshop, there are a number of considerations you need to keep in mind. For one, don’t place your base near fences or walls, as you might run into issues later on down the line if you discover your garden workshop has an overhang.
Second, be wary of building near large bushes or trees. Once again you may run into issues with the overhang of the building. Also, if you have any trees with troublesome overhanging branches, cut them down before you begin construction on your base.
Keep these additional considerations in mind:
- Ensure that you have access to all sides of your garden building just in case you need to apply wood preservative treatments later on down the line.
- Visualise in your head what the garden building will look like in the location you choose.
- Think about natural lighting and the view you’ll have once your garden workshop has been assembled. Will you be able to look out the front window and admire the beauty of your garden, or will you be staring at your fence or the side of your house due to poor positioning?
- Consider essentials for your garden building such as water and electricity. Distance will be a definite factor if you intend on running pipes and/or cables to your garden workshop.
Getting started
Before you begin construction on your pressure treated base, consider your skill set. If you’ve worked with wood before the process of building a base is fairly straightforward. If not, it might be a better idea to hire a handyman to do it for you. Better to shell out the money and have the professionals do the job right then to do it yourself and build a subpar base.
Materials needed to get started:
- Carpenter’s level
- Concrete blocks
- Pressure treated timber
- Circular saw
- Drill and drill bits
- Deck screws
- Shovel and rake
- Landscape fabric and gravel (optional)
- Framing square
Building your garden workshop base
Laying the concrete blocks
First, thoroughly clear the area where you intend on building the base. Clear away plants, trees, and anything else that may be in the way. When you’re finished rake the ground until it’s flat and level. Though optional, you can also lay down landscape fabric over the soil and spread out a layer of gravel. This will prevent weeds from growing underneath your deck.
Next, gather your concrete blocks and form them into a rectangle. You ultimately want to create around seven rows of three blocks each. Use your carpenter’s level to ensure that all of the blocks line up precisely with the blocks that sit on the corner. It’s important that you get your measurements correct, or your base may end up uneven.
Build a frame
Find a large, flat surface so you can construct your deck frame. Your yard, driveway, or the floor of your garage will do perfectly. You can even build on top of the concrete blocks.
Take your circular saw and cut your pressure treated wood into boards. The length and width of the boards will depend entirely on the size of the garden building you’re constructing the base for. These lengths of wood will be used as standard joists.
Now, take two pressure treated boards and place them over the ends of your newly created joists. Once again, the size will be entirely dependent on the garden building.
Next, drill pilot holes and fasten the pieces together with three 3 1/2 inch deck screws at the corners. This is best done with a power drill. Measure each end to ensure they’re perfectly even. The next step is to place the frame onto the concrete blocks so that they line up evenly. To ensure your deck frame has perfect “squareness” use a deck frame to check the corners.
Before moving to the final step, make sure that the concrete blocks make contact with the frame. You can adjust the height of the blocks by adding or removing gravel or soil from underneath (if needed).
Installing the baseboards
Place an appropriately measured baseboard along one of the long sides of the frame so that it matches up evenly with the frame itself. Drill holes into the supporting joists and fasten the baseboard down with 2 1/2-inch deck screws. Take the next baseboard and repeat the process, leaving about 1/4 inch space between the boards. Rinse and repeat with the remaining boards until your baseboard is finished.
Take out the guesswork
There you have it. Building the right type of base takes a certain level of knowhow, so it’s important that you recognize what you are and aren’t capable of doing on your own.
Building a base is only one part of the equation. You’re going to need a garden workshop that’s perfectly suited for your needs. Project Timber offers a wide variety of pressure treated garden workshops that are affordable, well built, and durable.
Take out the guesswork today. Get a shed that’ll last, so that all of the hard work you’ve put into your base won’t go to waste.


