


How to Assemble a Garden Building
Assembling a garden building doesn’t need to seem like a daunting task. It is really part of the experience where there is nothing more satisfying than creating your own building that you can enjoy with your own skills. Of course, there are details that need to be considered before it comes to assembly, but having some extra knowledge beforehand can make the assembly a good experience and achievement, no matter how big or small your building is.
This guide aims to cover all the key aspects that will help you make the best choices for your outdoor space and garden building.
The important stuff
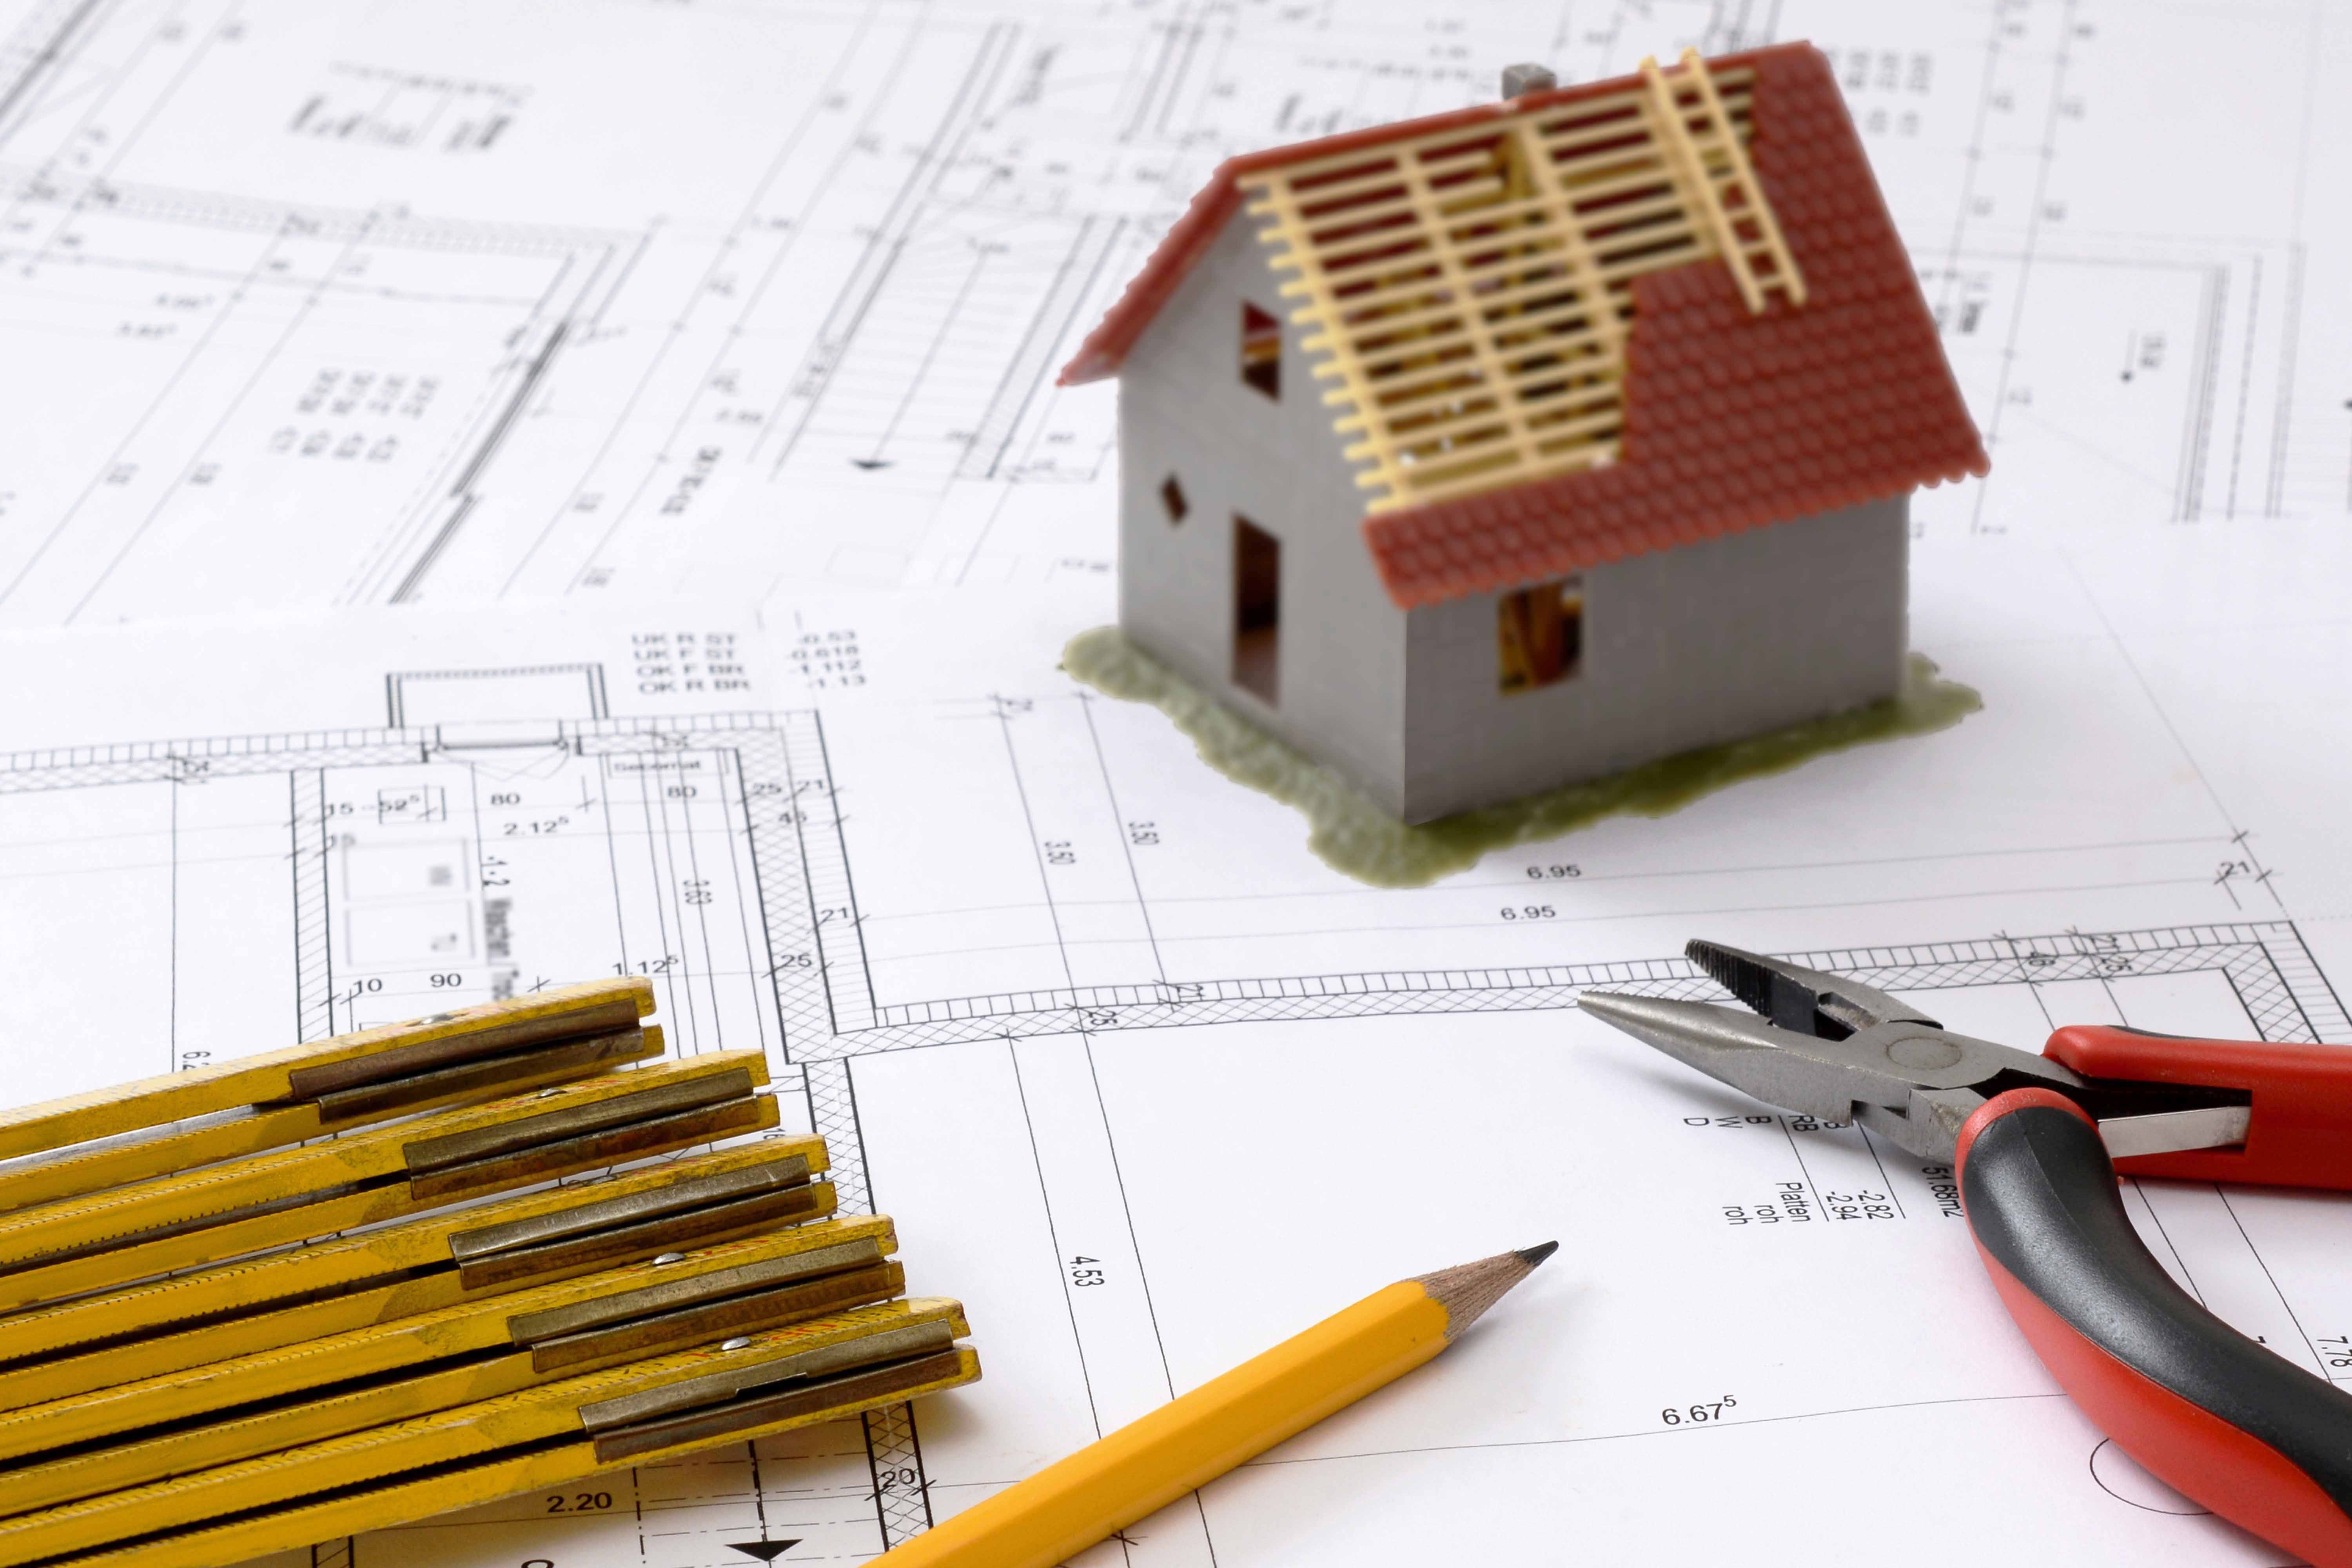
Before you even make the purchase, there are a few important things to consider:
- If your building is to be placed within 2 metres of any garden boundary, then it’s maximum height must be 2.5m to avoid requiring planning permission. The footprint the building covers would also have to be less than 50% of the total area of land around the original house. A building below 30 metres squared would normally be exempt from planning providing it follows the other guidelines. However, some local council’s rules may vary and so if you are planning on getting a large building then checking with your local council about planning permission is advised.
- Have you notified your neighbours of the proposed building? This is because it may obscure views or take up a large amount of space so it’s always worth checking first to avoid any surprises.
- Do you have a suitable area in your garden for the building and does it require any additional work? Ideally, the space you have in mind would be flat, clear of debris, and have no overhanging branches at building height.
- Is your build area flat and would you require a base installing prior, or can this be done at the time of the build? This is always an important part to consider as the base of a building must be flat, and if done properly, it can greatly increase the longevity of your building.
Location, location
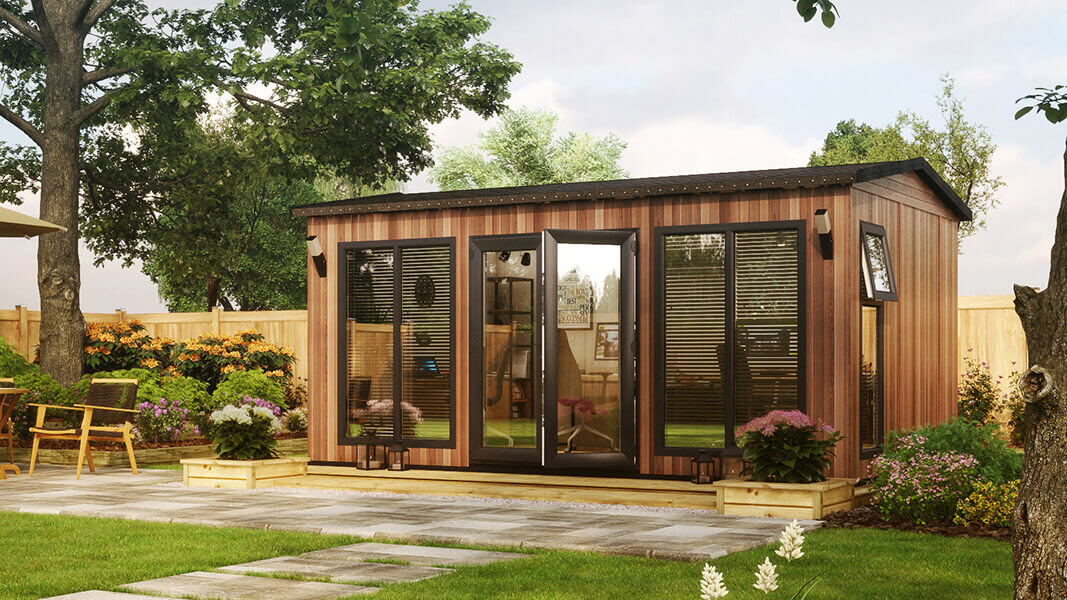
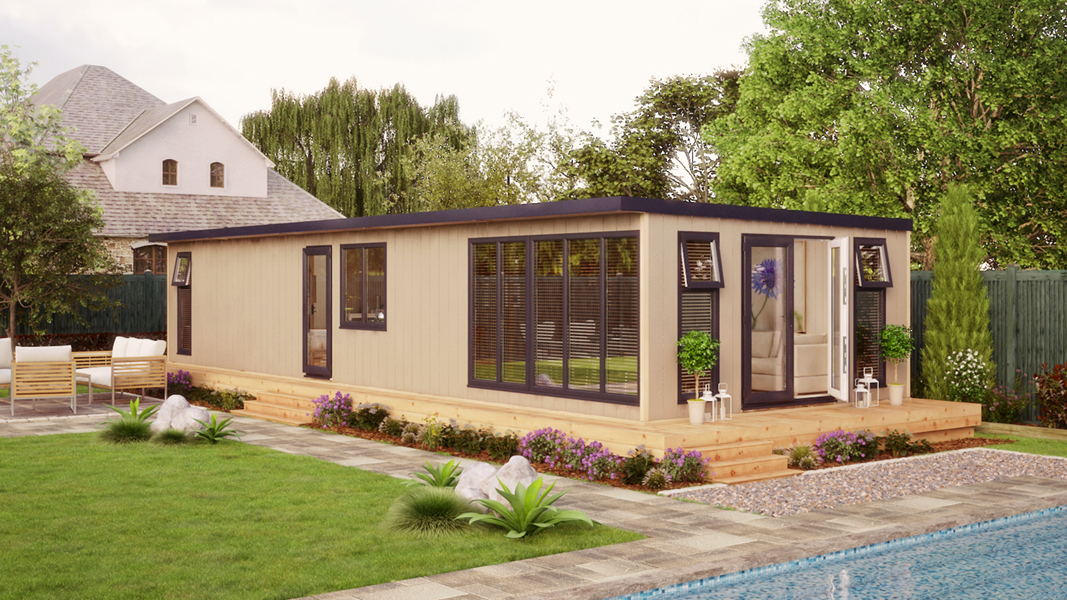
The location of your garden building is very important for a number of reasons. If the location of your building is suitable for the building it can help make your building last longer, gain better use from it and make the assembly a smoother process. Even if the use of your building is different, such as being a summerhouse, garden storage unit, workshop, garden office, or even a home gym or spa; having your building in a suitable location can save you any inconveniences further down the line over the lifespan of your building.
The key elements to take into consideration are:
- Distance from any garden boundaries. There should be an adequate distance around the building to allow space for annual treatment and to prevent damp and moisture building up from having it in a confined space.
- Exposure to the elements. This could be an important deciding factor in the specification of the building you choose. If the area is very exposed to wind and rain, it would be worth considering investing in a more heavy-duty building that has increased weather resistance, such as a pressure treated building or one with composite timber cladding. You may even consider a few upgrades such as an EPDM rubber roof for the extra protection required.
- Proximity to your house. Any buildings that are forward to the front elevation of your house are not permitted, but anything behind the front of your house should be fine.
- Ground suitability. The ground under your building should also be suitable, as a ground that is uneven and even likely to sink would cause problems after and during the build.
- Sun direction. If you have bought a summerhouse or a building you intend on spending time inside, it would be wise to know where the sun shines during the day that will help you choose the right position and even configuration of your building to get the most from it.
- Accessibility. A fairly obvious one but still important to consider, especially if you intend to use your building regularly. You may even consider not just the area of your garden that you can access your building from, but also whether your building would benefit from having larger doors, or even an additional opening for increased accessibility.
Do it yourself? or assembly team?
Once you have made the decision on which building you would like to purchase, it is a good idea to know how much work is required for the main assembly.
For example, if the building is simply a small shed, then this may be a building that you are comfortable with putting up yourself. But if the building is fairly large, it will likely require two people to assemble, and likely require a timber or concrete base installed beforehand.
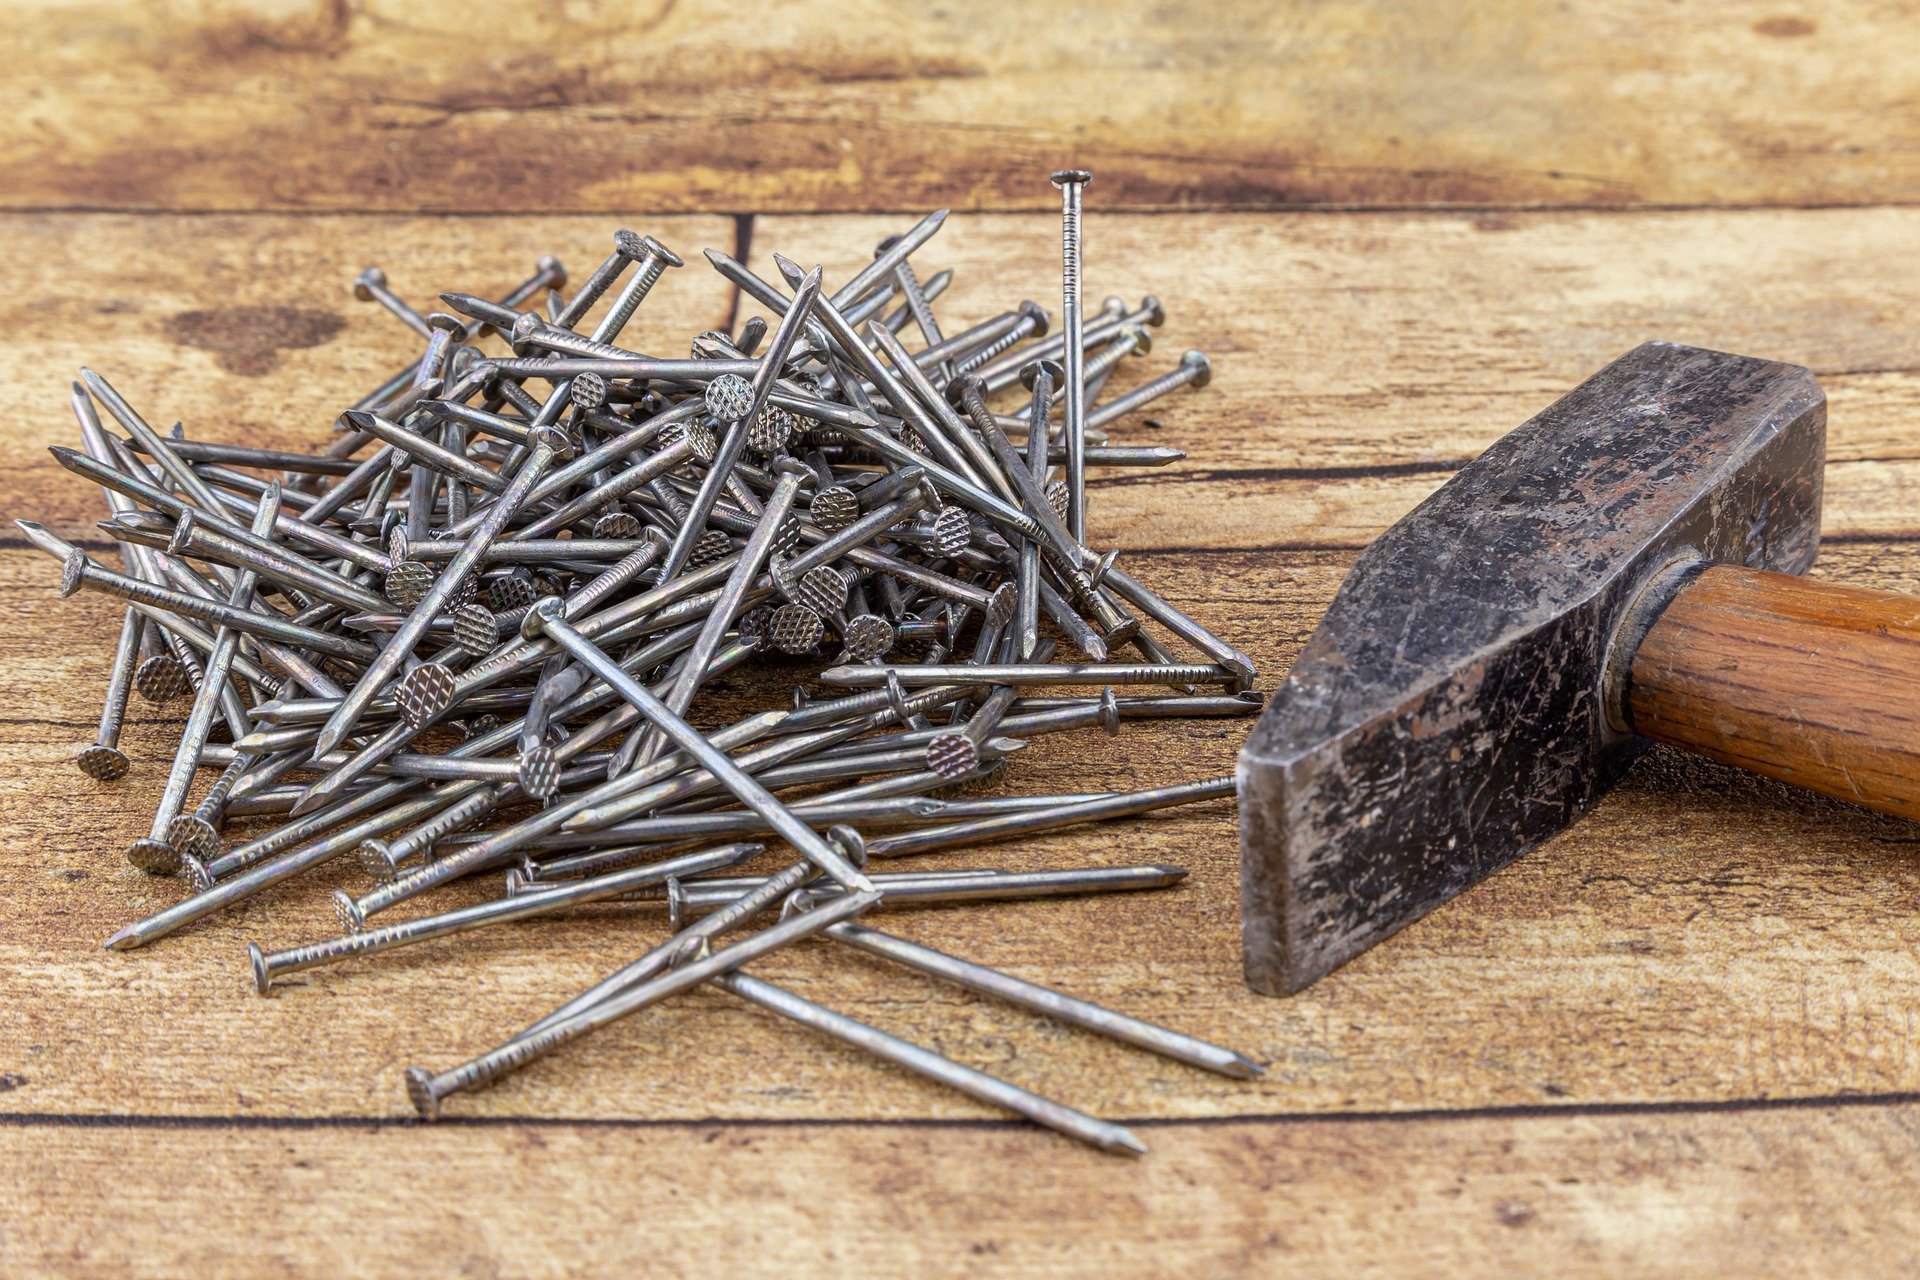
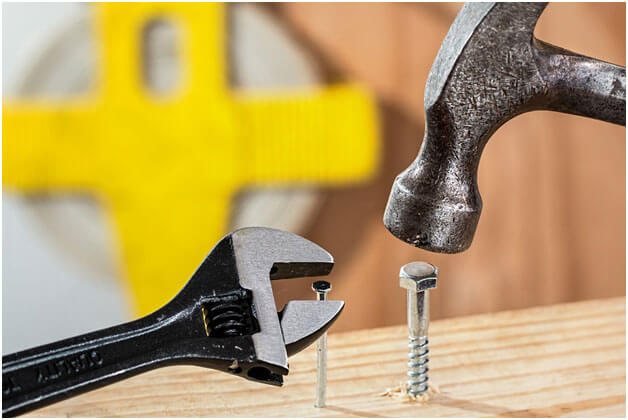
It is always good if you have some basic DIY knowledge if you will be the assembler. These are things like using drills, hammers, and using step ladders, etc. Some stages are more advanced than others and so you need to know if you will require assistance when it comes to the build. As well as this, you will also need some basic DIY tools for the assembly as these are not usually provided. These are tools such as:
- Hammer
- Screwdriver
- Drill
- Wood Saw
- Safety Gloves
- Spirit Level
- Tape Measure
- Cutting Knife
- Step Ladder
A good way to gauge if you will be able to build the building yourself is to carefully read the product instructions as soon as you receive the building or in advance, where you may be able to obtain a copy before delivery. The instructions will give you a good idea of what to expect and the complexity of the building. Some large buildings will have large roof panels or purlins which will certainly require two people to lift.
You should still be able to judge whether you are comfortable assembly the building yourself, or if you will require an assembly service.
To check the product click here
Why choose an assembly service?
When it comes to deciding whether you require an assembly service with your building, there are a number of benefits that you could make it worth considering.
The first is, of course, the time saving you will get from having a team of experts doing the work for you. With their expert knowledge and experience, they will be able to assemble your building in a fraction of the time taken by a single person or even a local tradesman.
When compared to using a local tradesman, an assembly team will offer much better value for money. This is due to:
- Having specialized knowledge and experience in assembling garden buildings
- Trained in their field and highly efficient
- They carry spare parts just in case
- They have all of the required equipment to hand
- They can assemble large buildings in a short amount of time
- They can also build bespoke buildings easily, which don’t usually come with specific instructions for the building.
These factors all add up in the amount of time taken to assemble a building, which is a cost-saving in itself compared to a tradesman who may not be a specialist in garden buildings. The time saved to you is also to be considered, were the days spent assembling the building yourself could be time spent doing other things you enjoy, where you could even be busy enough to take more time out of your weekend.
With the assembly team, a building could be assembled within a day or so depending on the size, meaning that you will be able to use your building sooner and spend time on the finishing touches. They can even install bases, electrics, and plumbing if required, meaning it will also save you the hassle of finding multiple tradesmen for the same project, and also not needing to shop around to get the best deal.
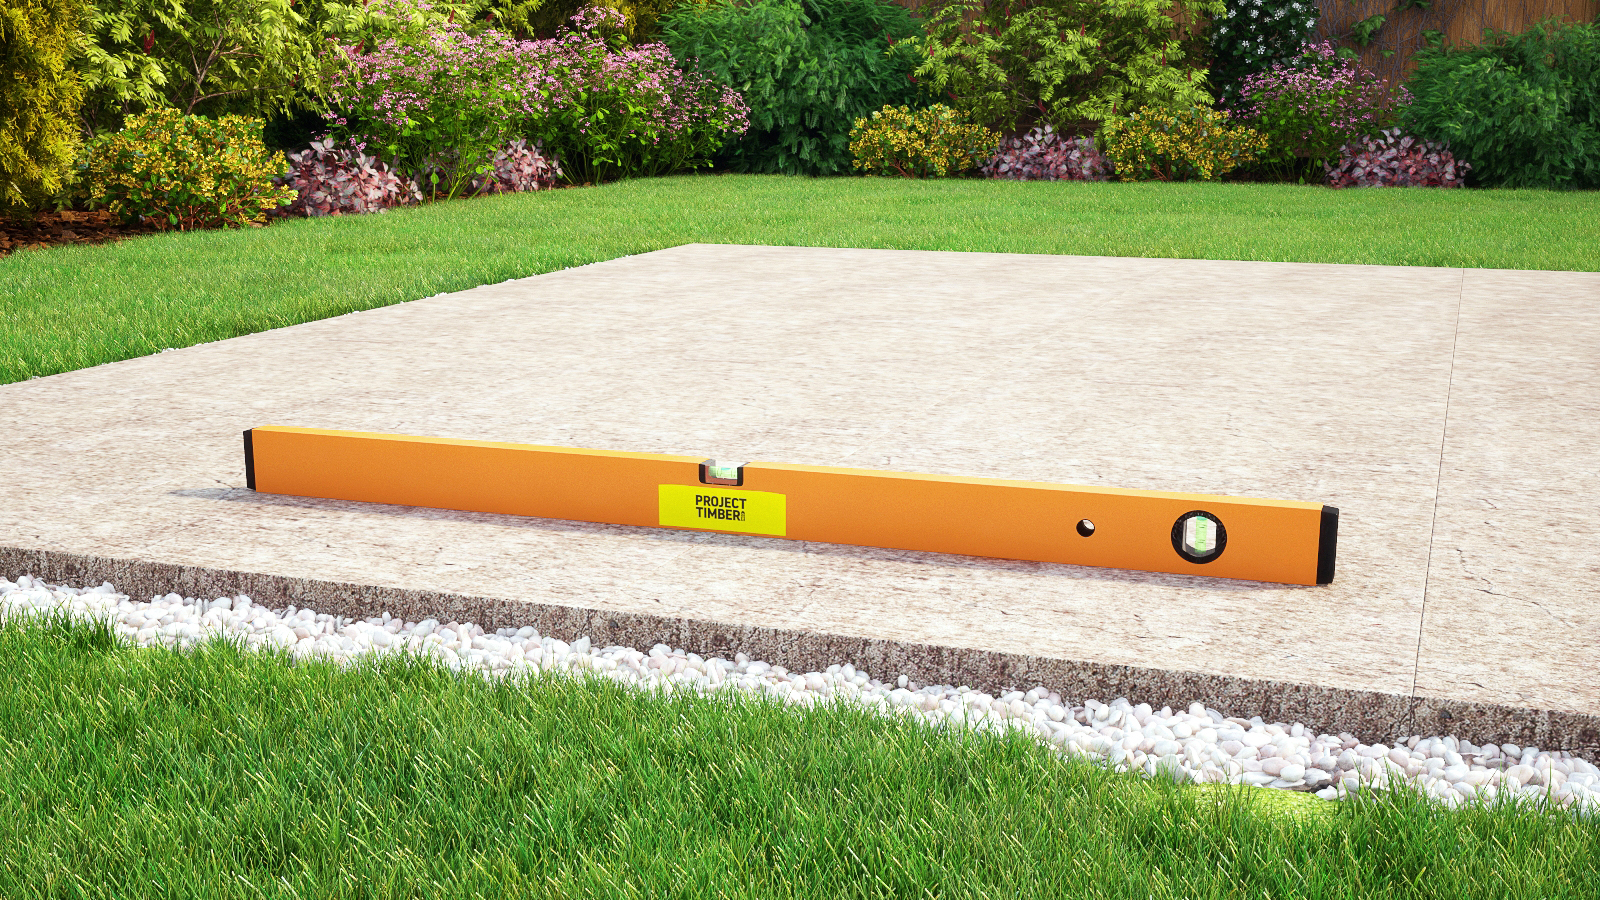
It’s all about the base
The base for your building is one of the most important aspects as this ensures the building is level and can be erected without any issues and won’t create any additional problems after completion.
There are lots of types of bases that a garden building can be constructed on, so it’s important to know which base is the most suitable for your building. The building must be kept off the damp ground and the base should have sufficient drainage to prevent water pooling and damp building up, causing it to rot. If a building is built on a good base that meets all the requirements it will last for many years longer, which in the long run will save you money.
A smaller building may only require pressure treated bearers to keep it off the ground, but this wouldn’t be as good as a more permanent solution. It also comes down to the budget and the needs of the building.
In all cases, paving slabs or a concrete base is the most suited, however, there are pressure treated timber alternatives which can also be a cheaper option. A pressure-treated eze base is a good option as this will have increased weather protection and resistance from rot for up to 15 years. This can also be fixed into the ground using spikes or even using post mix for an even more stable solution.
The size of the base is also important where it must be big enough to fit the floor securely if it is a timber base, where dimensions can be obtained from the manufacturer, or you could purchase a base for the building size you choose from the same company to save any hassle.
If you prefer to have a concrete base, it may also be an option to have the base installed by the company’s assembly team, which again, could save you time and money.
Before the big day
Once all prior arrangements have been worked out and your delivery day is all set, the next thing to consider is how the building will arrive and how it will be transported to the build area. Most companies offer a kerbside delivery service, which means they will unload your delivery in front of your house, so it’s good to make any arrangements with the neighbours if you have a busy street so that there will be enough space for your building to be unloaded.
The building will be flat packed and will come in separate panels and kits, so assistance may be required to help lift the parts and transport them to your garden. Some companies supply panels that are designed to through your front door, so you can take the panels through your house to your garden. Some parts may be very heavy, such as double glazed doors, which is certainly a two-man job to lift and move. If you have an alleyway or a path to your garden then it should be kept clear before delivery. The build area should also be clear ready for the arrival of your building.
Before you start the build
For a smoother build, it is always a good idea to check the parts are correct as soon as possible after delivery. There should be details of the parts of your building from the delivery and in the product instructions. These parts will generally include wall panels, window panels, windows, doors, floor panels, roof panels, roof felt or EPDM rubber roof, a woodkit that contains timber strips and a bag of fixings and door furniture, etc.
In some cases, some panels may have sap or small chips due to knots. This is perfectly normal for a timber building and won’t affect the end quality of your building. If any boards seem out of alignment from being knocked in transit, you can simply tap the panel on the affected edge to straighten them up again.
Here are a few tips when assembling the building:
Reading the product instructions – Yes, we have all been there, assembling a brand new product with our own expert knowledge, with varying degrees of success. However, a garden building is trickier than you think, even the smallest of sheds have stages that are critical to get right, and can mean the building’s end quality could be compromised, so it is highly advised. A better idea, if you can, is to read the instructions further in advance to the assembly. This will make the job much easier.
Grouping the similar parts together – with all of the parts grouped together it makes it much easier to select the correct one during the build, or even laying out the panels around the build area to make selecting the required parts much easier and making the assembly quicker.
Pilot drilling the holes before fixing – By doing this, it helps prevent any of the timber splittings when fixing it together, especially the thinner bits of timber such as fascias and finials. Finials should be fixed with panel pins rather than nails as they are the most prone to splitting.
Using cardboard to protect the glazing when fixing – A simple but effective way to prevent any scratches occurring when fixing the beading around your glazing. The styrene does come with a protective film but this should be removed before fixing. Also, be careful not to nail through the glazing when fitting the outer strips as this will cause the glazing to split.
Cutting the felt before fitting to the roof – The felt should be measured and cut to size before it is fitted to the building. This will make the cut much neater and the job easier.
Pushing the roof panels up to the centre tightly – This is quite a critical stage if you have an apex roof building. The roof gives the building a lot of its strength, so having the roof panels fit tightly and squarely to the building will make your building even stronger and durable. It will take some force to push the last roof panel up to the centre tightly. Two people are recommended for this. Once this is done you will notice the whole building tighten up squarely and Ridgid. If the roof panels aren’t pushed up tightly this could result in the roof bowing in the centre over time and a less rigid building.
Smaller parts treatment before assembly – This could be a good time-saver and also keep your building looking neat. It’s much easier to paint the cloaking strips, finials and windows separately before fixing them, so the paint (if a different colour) doesn’t accidentally go onto the main panels. It is also easier to fit hinges to a pre-painted panel rather than painting around them.
Treating your building – This should be done straight after assembly or even prior if possible. Treating your building is extremely important in preserving the quality of your building and protecting it from the elements. The panels usually come factory treated, which is a watered 2down layer of treatment, which will only last 1 month. If your building is pressure treated, then additional treatment isn’t a necessity as the timber has had the preservative forced deep into the wood, giving it extra protection from moisture and rot. You can still paint your pressure treated building but only after at least 1 month after rain, when the pressure treated timber has fully dried.
With this extra knowledge, you are sure to be well prepared when it finally comes to assembling your building, and it will also mean your building will be made to the highest level it can be, and even be an experience to look forward to!
We also have our garden offices that are easy to build and affordable. Get yours now by clicking this link (Garden Offices)
Our Best Seller
-
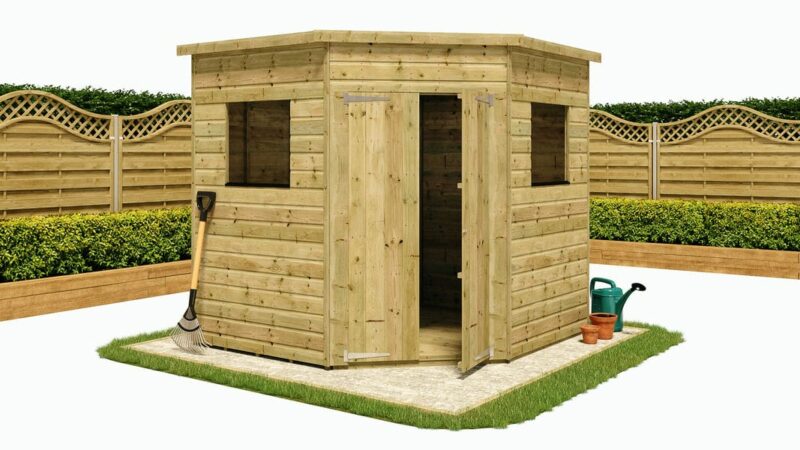
 Corner Windowless Shed - Pressure Treated Tongue and Groove
From: £999.00
Corner Windowless Shed - Pressure Treated Tongue and Groove
From: £999.00
-
 Corner Windowed Shed - Pressure Treated Tongue and Groove
From: £999.00
Corner Windowed Shed - Pressure Treated Tongue and Groove
From: £999.00
-
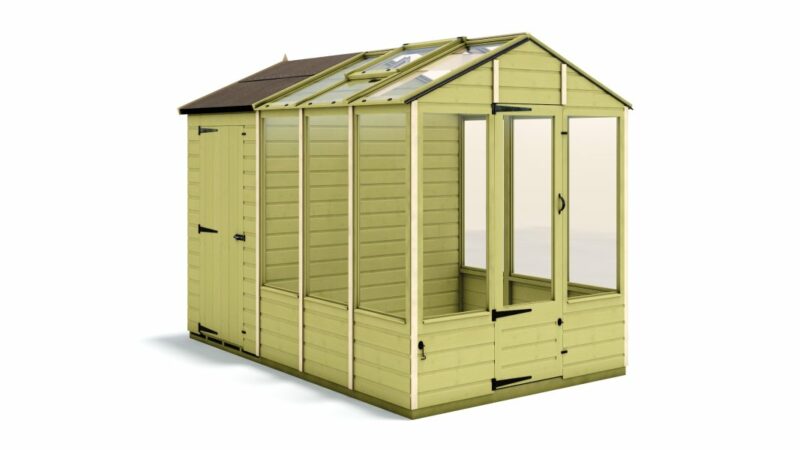 Hobbyist Sandringham H100 Greenhouse - Pressure Treated Tongue and Groove
£1,999.00 – £5,454.00
Hobbyist Sandringham H100 Greenhouse - Pressure Treated Tongue and Groove
£1,999.00 – £5,454.00
-
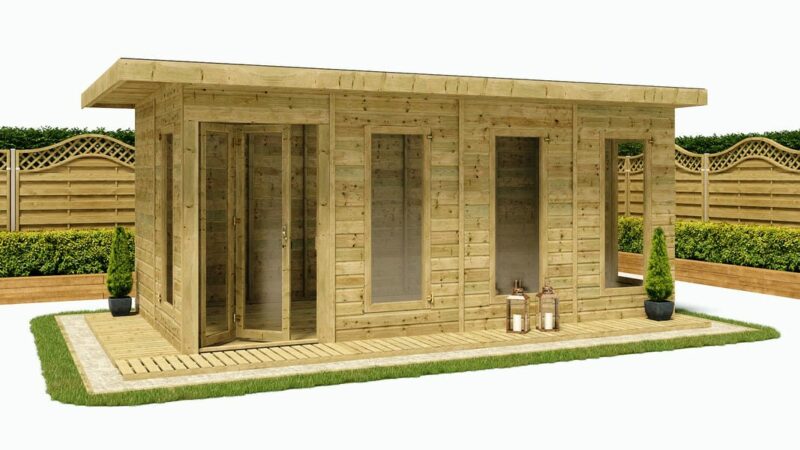 Grandmaster Lounge "Contemporary" G1000 Garden Room - 11mm Pressure Treated Tongue and Groove (8ft Internal Depth)
£2,999.00 – £6,579.00
Grandmaster Lounge "Contemporary" G1000 Garden Room - 11mm Pressure Treated Tongue and Groove (8ft Internal Depth)
£2,999.00 – £6,579.00
-
 Hobbyist Cannes Plus H100 Insulated Summerhouse - Insulated Tongue and Groove
From: £3,799.00
Hobbyist Cannes Plus H100 Insulated Summerhouse - Insulated Tongue and Groove
From: £3,799.00