


It’s one thing when you have a large workshop with plenty of space to move around in. It’s quite another when you’re working with small, limited space. Small workshops require you to maximise every inch of square space you have at your disposable.
The greatest challenge you face is making your small workshop feel roomy enough not to feel stifled as you go about doing your projects. Here are a few of the biggest challenges you’ll face in a small workshop:
- Organisation
- Lighting
- Oversized workshop furniture
All of these factors can play a huge role in making a workshop feel even smaller, or a bit bigger if you go about it correctly.
Making the most of your small workshop space comes down to planning and careful organisation. Approaching this project the right way can make even the smallest workshop feel spacious, making your time there that much more enjoyable. Here are 8 ways to make the most of your space in a small workshop.
1) Lighting
Think about the lighting of your workshop. Is it sufficient? Remember, one of the biggest issues you’re going to face as you make the most of your limited workspace is lighting.
If you have fluorescent light fixtures overhead consider replacing them with LED light fixtures instead. The extra lighting will eliminate any shadows. Also, think about natural lighting. Is it possible to let the sun into your workshop? If so make it happen!
A well-lit room gives the appearance that you’re working in a bigger space. Otherwise, you might end up feeling like you’re working in a cave, shadows creeping in all around you and “restricting” your work area. Let the light shine!
2) Get creative and make your tools mobile
Want to truly maximise the space in your workshop? Then make sure all of your tools are mobile. You can do this by investing in workbenches with wheels. That way you can slide around your tools when you need them and slide them away when you’re done.
Making your tools mobile will give you flexibility as you go about your projects and it will truly maximise the space in your small workshop.!
3) Invest in workbenches that save you space
Because you’re working with limited space, you’re going to need a workbench that can be folded up and moved out of the way. Flip-top workbenches are the perfect choice. They’re small, portable and most importantly they can be easily tucked into a corner when you’re not using them.
Flip-top work workbenches are perfect because you can mount a tool, such as a small table saw on one side, and then literally flip the top (with the tool mounted) to truly maximise the space in your workshop.
Don’t stop with just a flip top workbench. You should also invest in a folding workbench. A folding workbench is the perfect investment if you need a suitably sized, yet compact solid surface to work on. When you’re done simply fold the workbench up and store it away in a corner. It’s as easy as that!

4) Add a fresh layer of paint
Who wants to work in a dingy, dark workshop? Dark colours are depressing, and if you intend on spending a significant amount of time in your workshop, then you’ll want to give it a makeover. We won’t tell you what colour to choose, but you should pick something that’s bright and refreshing such as lime green or light blue.
Keep in mind you should pick colours that suit the rest of your workshop. If lime green doesn’t work well with your black workbench than select a different colour! And don’t forget to clean up the surrounding cabinets and furniture. If you’re going to give your workshop a fresh coat of paint, you might as well sweep the floor and scrub down your workstations while you’re at it!
5) Invest in a mitre saw stand that saves space
If you have a need for a mitre saw (which should be on wheels by the way) then investing in a portable and easy to use mitre saw stand is the way to go. This type of stand doesn’t just hold your mitre saw in place, but it also comes equipped with “wings” on either side.
You can extend these wings when you’re using your saw to cut an extra long piece of lumber. When you’re finished fold the wings back up, and you’re good to go! Simply tuck the stand into a corner, and you’ll free up plenty of space to move forward with other projects.
6) Take care of any scrap wood
If you intend on building benches, work tables, and other DIY projects than you’ll inevitably find a pile of wood cluttering up your workspace. You’ll likely tell yourself that you have a use for that big ol’ pile of wood, but as time goes by that pile is just going to continue growing.
Eventually, you’re just going to have to admit to yourself that you’re never going to use that wood again and that means one thing — clean up time.
It’s time to move past your days of moving around and/or tripping over piles of wood as you move about your small workshop.
We won’t tell you how to dispose of your extra wood, but we will tell you that the wood does need to be removed at some point. Let’s not overlook the potential safety hazards this can cause as you’re moving about your workstation. Imagine tripping over a piece of wood while you’re using a power saw!
The quicker you dispose of your wood, the quicker you can clear up more space thus ensuring your work environment is clutter free and significantly safer.

7) Organising the scrap wood you decide to keep
Yes, we did just tell you to throw out your extra scrap wood, but there may be a few cuts of lumber that may still have some use. In that case, organisation will be your best friend. Every workspace is different, so you’ll need to find a storage method that works best for you.
If it turns out your workshop is too small to accommodate the extra wood you decide to keep then you may have to find a storage solution that exists outside of your workshop. Remember, you still want to be safe, so find a storage solution that frees up your ability to move around easily in your workshop.
8) Invest in a portable table saw station
Sure, we all would love to have one of those massive cabinet style table saws. They have enough surface area to make your wildest DIY dreams come true. However, because you’re working with a limited space, you’ll just have to settle with a bench top table saw. They’re small and portable (make sure it comes equipped with wheels) and the perfect choice for a small workshop.
If you want to truly maximise space consider adding wings to either side of your table top saw. By adding wings, you can add more surface space to cut longer pieces of wood. When you’re done simply fold the wings away and slide the table saw safely out of the way.
Maximising the space in your small workshop the right way
There’s nothing you can do about the actual size of your workshop, but you can certainly use the tips in this article to maximise that tiny space into a place that’s enjoyable to work. Once you’ve finished making over your workshop, you might just be surprised by how much space you actually have. Then the projects can begin!
Featured Image Credit: MIH83 / Pixabay
In Post Image 1 Credit : Project Timber
In Post Image 2 Credit: CJ / Pixabay
In Post Image 3 Credit: antmoreton / Pixabay
Our Best Seller
-
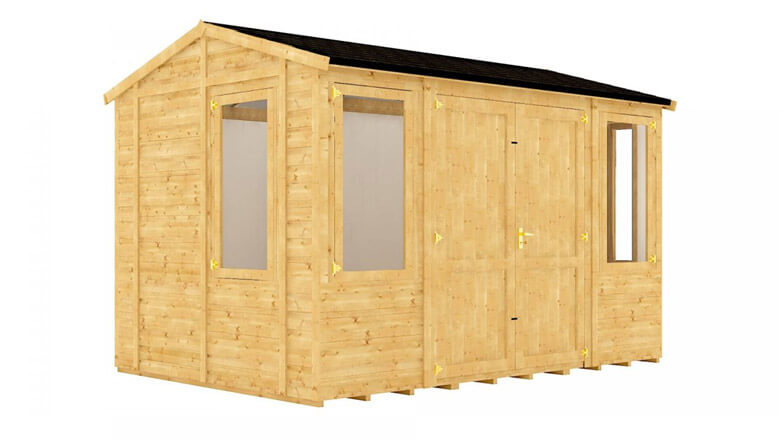
 Corner Windowless Shed - Pressure Treated Tongue and Groove
From: £999.00
Corner Windowless Shed - Pressure Treated Tongue and Groove
From: £999.00
-
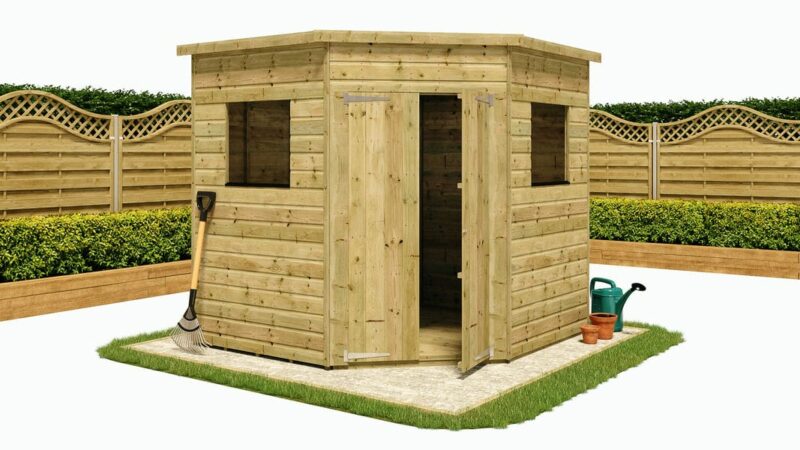 Corner Windowed Shed - Pressure Treated Tongue and Groove
From: £999.00
Corner Windowed Shed - Pressure Treated Tongue and Groove
From: £999.00
-
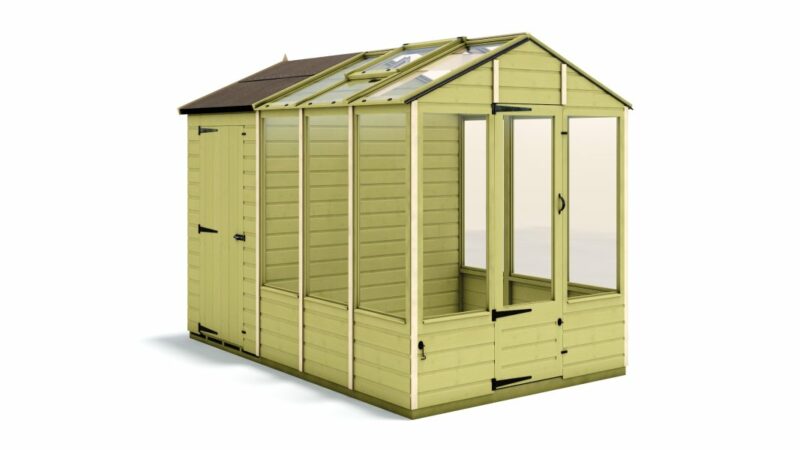 Hobbyist Sandringham H100 Greenhouse - Pressure Treated Tongue and Groove
£1,999.00 – £5,454.00
Hobbyist Sandringham H100 Greenhouse - Pressure Treated Tongue and Groove
£1,999.00 – £5,454.00
-
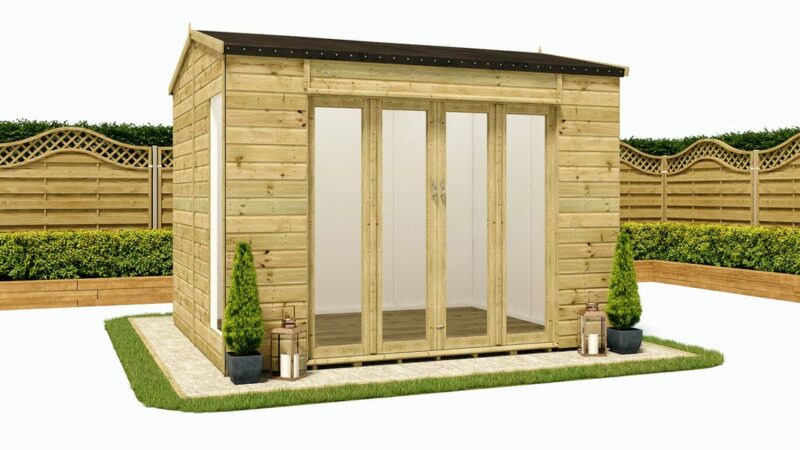 Hobbyist Cannes Plus H100 Insulated Summerhouse - Insulated Tongue and Groove
From: £3,799.00
Hobbyist Cannes Plus H100 Insulated Summerhouse - Insulated Tongue and Groove
From: £3,799.00
-
 Hobbyist Chartwell H100 Greenhouse – Pressure Treated Tongue and Groove
£1,199.00 – £3,243.00
Hobbyist Chartwell H100 Greenhouse – Pressure Treated Tongue and Groove
£1,199.00 – £3,243.00
